Wednesday, July 17, 2013

Yellow Dal Fry / Dal Tadka

Almost 20 years back, when Bangalore was not hit by the tech wave and hadn't grown beyond its boundaries, there were these dhabas or highway restaurants where truckers stopped over for a simple, reasonably priced meal and headed towards their destination. They dhabas are still there I assume, but much further away, since the city has stretched way beyond its limits.

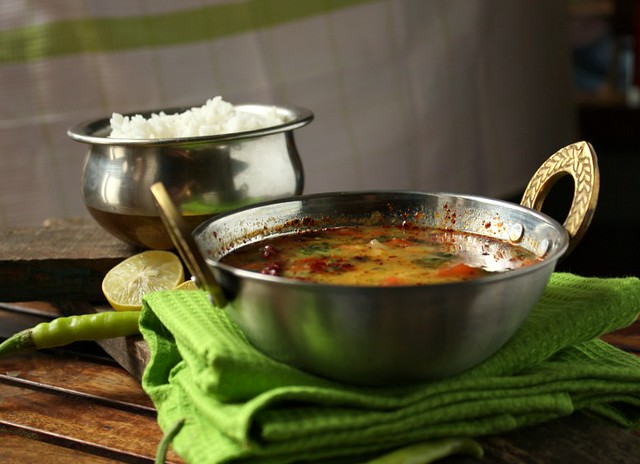
dal tadka with rice1

As many old time Bangaloreans would remember, there were many dhabas near Jakkur airport, one of the more famous ones being Sanjay Dhaba. The khatiyas (cots with jute ropes criss-crossing across it, to make a bed) would be kept out for the truckers to have a small nap after their meal. It was a favourite Sunday event to go riding to Jakkur and then eat at one of those dhabas. We were a gang of 4, which sometimes grew to about 8 or ten, but for us four, these dhaba visits were great fun. The food was good, of course, but the ride to the dhabas was something I enjoyed even more.
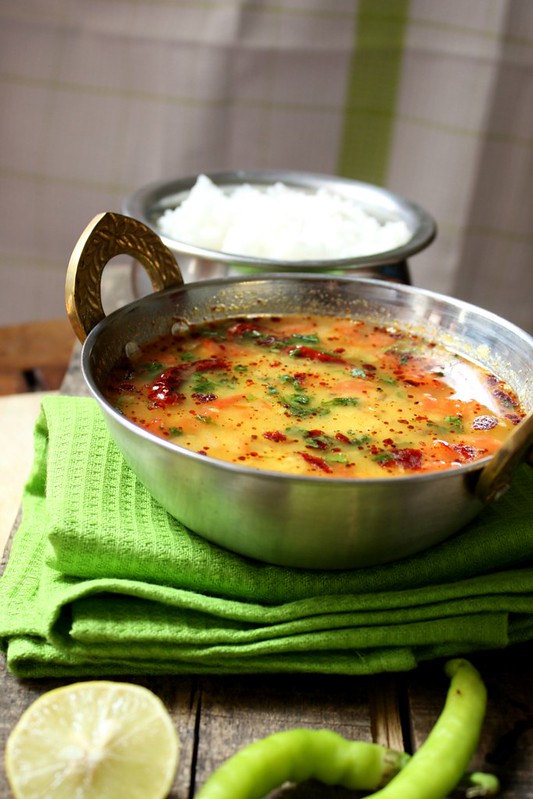
dal tadka

There was a standard order of rotis, sabji, egg burji and dal fry, and depending on the company, a few more dishes would be added on. Simple fare but it tasted so good out there, sitting on the rather uncomfortable khatiyas and watching the Air Force training planes take off from Jakkur. The egg burji and the dal were always amazing with the freshly made Tandoori rotis.

I make dal everyday, sometimes with tur dal, mung dal, masoor dal, chana dal, but there is a dal on the table everyday since my son totally loves it and doesn't think a meal is complete unless he has had his rice and dal.
I never really followed any particular recipe, but the other day a friend called up and asked me how to make yellow dal fry. I actually rattled away a few ingredients to her and then tried it out myself.
Its a simple, basic recipe and you can use whatever you have in your kitchen to make this, but making this 'yellow dal fry' brought back many dhaba memories, which I guess made the dal so much tastier.
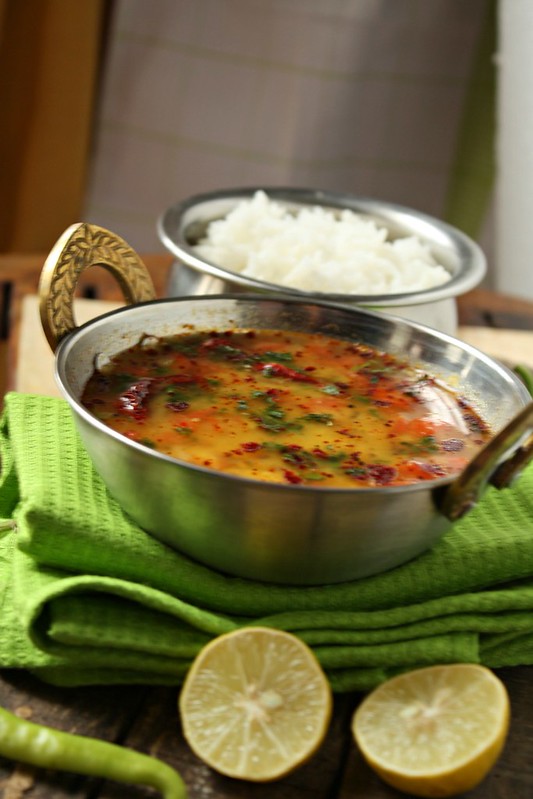
dal tadka 2

Yellow Dal Tadka

What you need -

1 cup Tur dal / Arhar dal / Yellow split peas
1 onion
1 tomato
2 green chillies / red chillies
1" piece ginger
3-4 cloves of garlic
1 tsp cumin seeds
a pinch of asafoetida
1/2 tsp red chilli powder
1/2 tsp turmeric powder
3 tsp oil
salt to taste

What you do with it -

Wash and rinse the tur dal and add 2.5 cups of water, turmeric and a litle calt
Pressure cook the dal for about 10-15 mins
Chop the onions, garlic, ginger and tomatoes
Heat a small pan and add 2 tsp oil to it. Add the asafoetida, cumin seeds and the slit green chillies or broken red chillies
Once the cumin seeds splutter, add the ginger, garlic and onions
Once the onions brown a bit, add the tomatoes and turn up the heat for 2-3 mins
Then add the cooked dal. You can churn the dal a bit before you add it to get a smoother consistency. Add water if the dal is too thick
Adjust the salt
In a small pan, heat 1 tsp oil and when the oil is hot, add the chilli powder. Let is sizzle in for a minute and then turn off the heat. Pour this over the dal
Sprinkle some coriander leaves and add a dash of lemon juice
Serve hot with rotis or rice

Wednesday, July 10, 2013

Devil's food cake

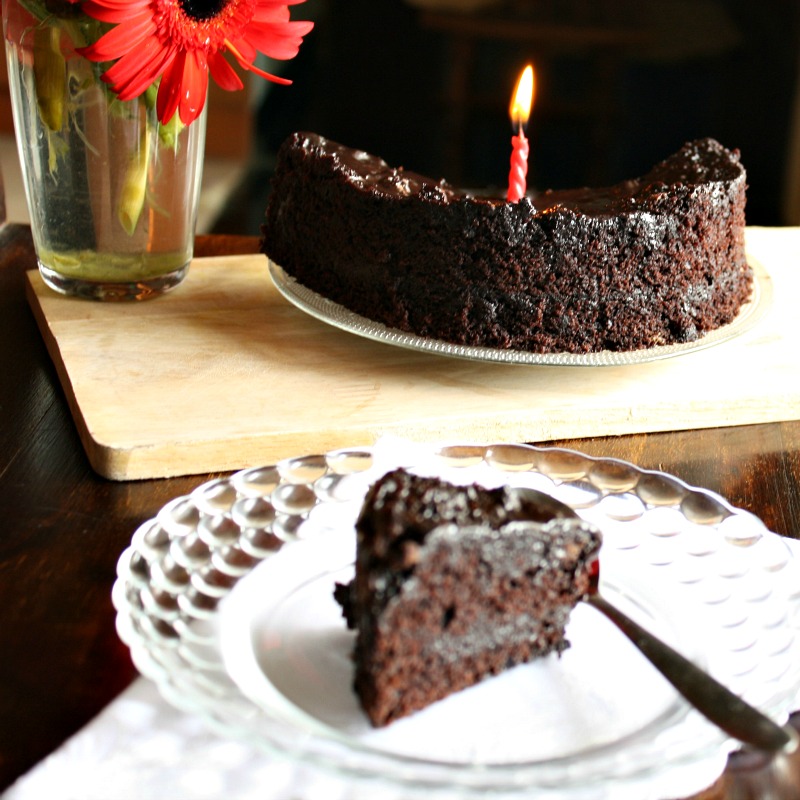
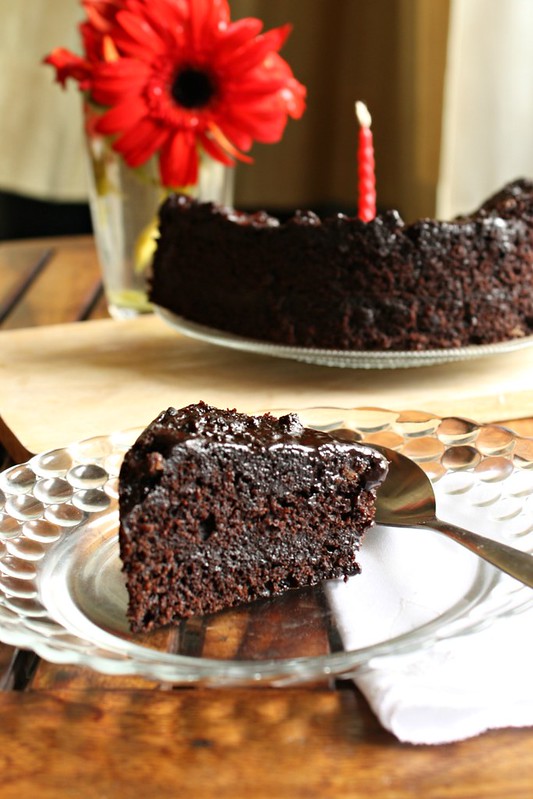
I've been neglecting this space for a while now and I'm not too happy about that. Let me make up for that by sharing this absolutely sinful Devil's food cake that I baked last weekend for TH's birthday

devil cake3

I am not a chocolate person, nowhere close to it. I never liked the taste of cocoa as a kid, but I've slowly grown out of it now. TH can eat anything sweet and since it was his birthday I decided on this Devil's cake that looked and sounded absolutely chocolate-y. Made this from a fantastic book called the 'Baking Bible' that my aunt from UK gifted me on my birthday earlier this year. I did make some changes since I was short on a few ingredients and the conversion from gms to cups was getting a bit messy, since I was rushing thru it all. There was a the big dinner happening on the side and I didn't wait long enough for the cake to cool down. The icing was delicious but it didn't have enough time to set, so it didn't have a smooth finish

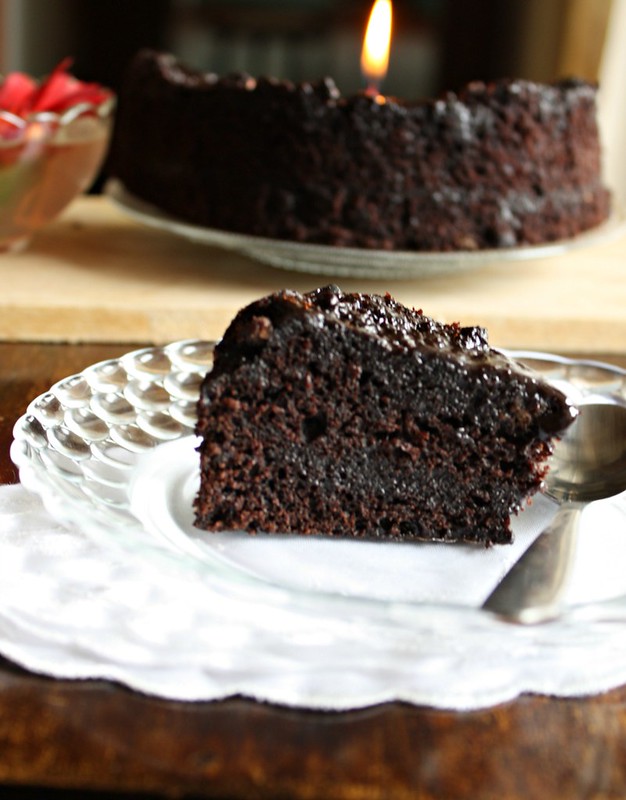
devil2

I don't like anything thats cloyingly sweet. This cake was perfect, dark chocolate, not too sweet, but really moist and rich. Even for a non-chocolate loving person, this was chocolate nirvana. I guess the devil is really in the pounds you can put on by just staring at this absolute delight of a cake !

The recipe calls for baking it in two pans, so you land up with three layers, but I stuck to a single pan and made just two layers. I find it so difficult to just follow a recipe as is. I always need to go make my own changes, though they are rarely for the better, but *sigh* thats me !

devil1

I have been baking a lot over the past two weeks and its been real fun. A few friends ordered for cakes and brownies and the response was extremely encouraging. Its been great experimenting with cake pops, brownies, cookies and a whole lot more, and all these were egg-free, so yes, lots of experimenting !

Devil's food cake
Adapted from Annie Bell's 'Baking Bible', with a few changes

What you need -

For the cake

1/3 cup cocoa powder
3/4 tsp baking soda
3 eggs
1.25 cups sugar
3/4 cup APF / maida
1/4 tsp baking powder

For the icing

250 gm chocolate, broken into pieces
2 tbsp unsalted butter
3 tbsp cocoa powder
1/2 cup milk
2 tbsp honey

What you do with it -
Whisk the cocoa with 200ml of boiling water. Whisk in the baking soda and allow to cool
Pre-heat the oven to 180 C. Grease an 8" round pan and line with baking paper
Whisk the eggs, sugar and oil until smooth. Add in the flour and then the cocoa solution
Pour into the prepared tin and bake for 40-50 mins
For the icing, melt the butter and chocolate using the double boiler method, stirring till its smooth
In another little bowl, add the cocoa, milk and honey and whisk it over heat
Pass it through a sieve and add it to the chocolate
Allow the cake to cool and then cut into two (or three) horizontally
Divide the icing accordingly and spread over each layer
Allow it to set for a couple of hours. This cake can be stored for a couple of days